Interior House Painting Process: What to Expect Step by Step
Interior house painting starts with a project review and preparation, then moves through repairs, priming, painting, cleanup, and a final walkthrough. Thomas J. Painting uses these steps to keep the work organized and the finish consistent.
Get a Free EstimateWhat Happens Before Interior Painting Begins?
Interior house painting begins with a project review that identifies the rooms, surfaces, repairs, colors, and finish requirements.
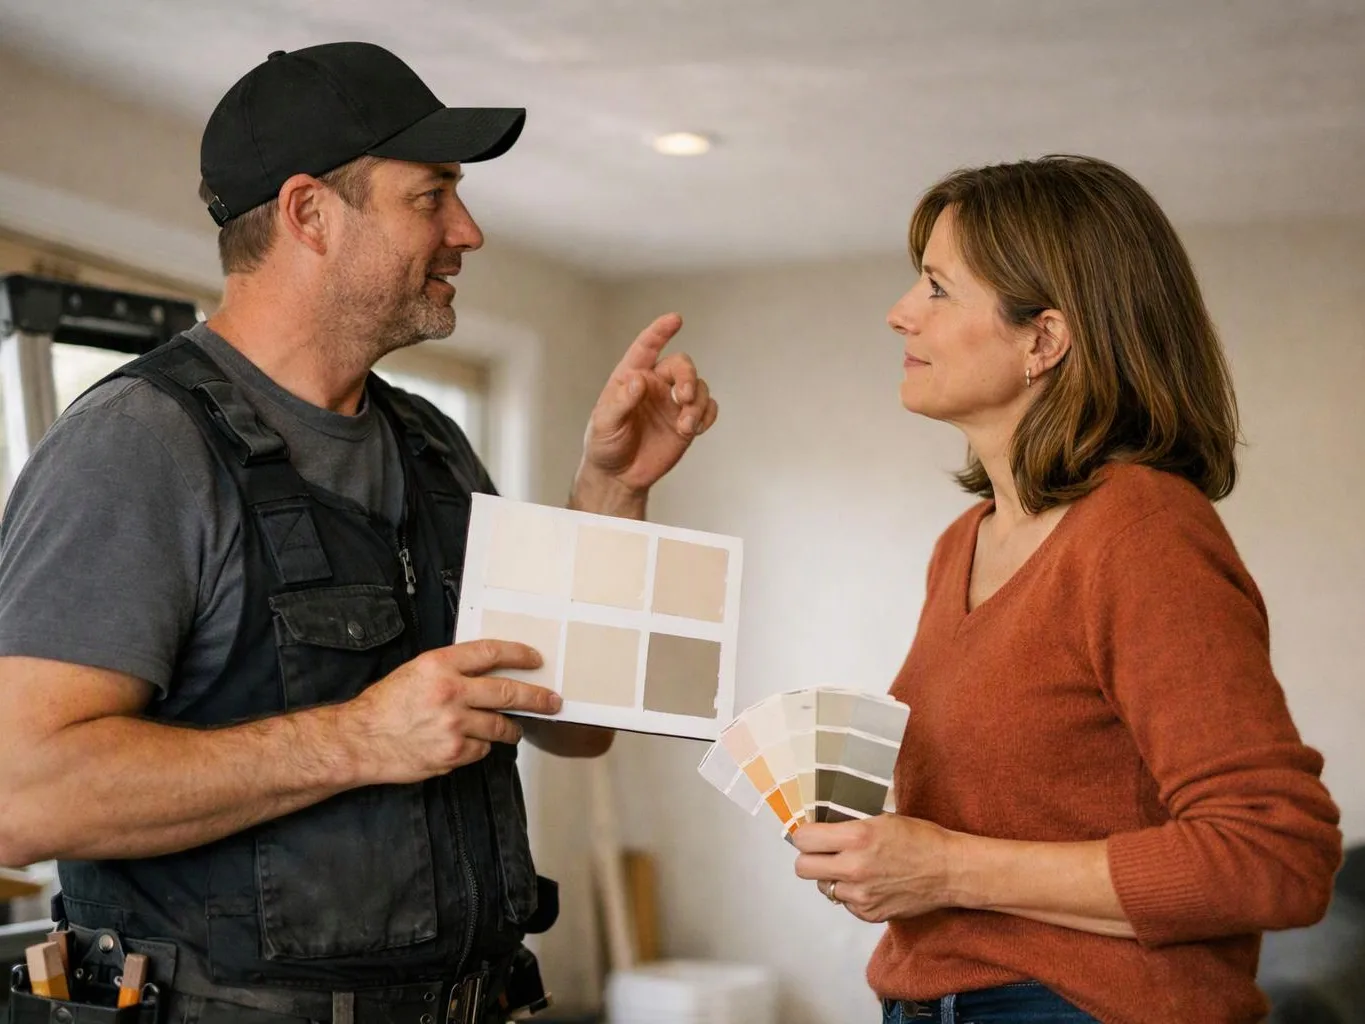
We review the room plan and discuss the desired paint colors. We also check the surface condition and confirm the scope of work before preparation starts.
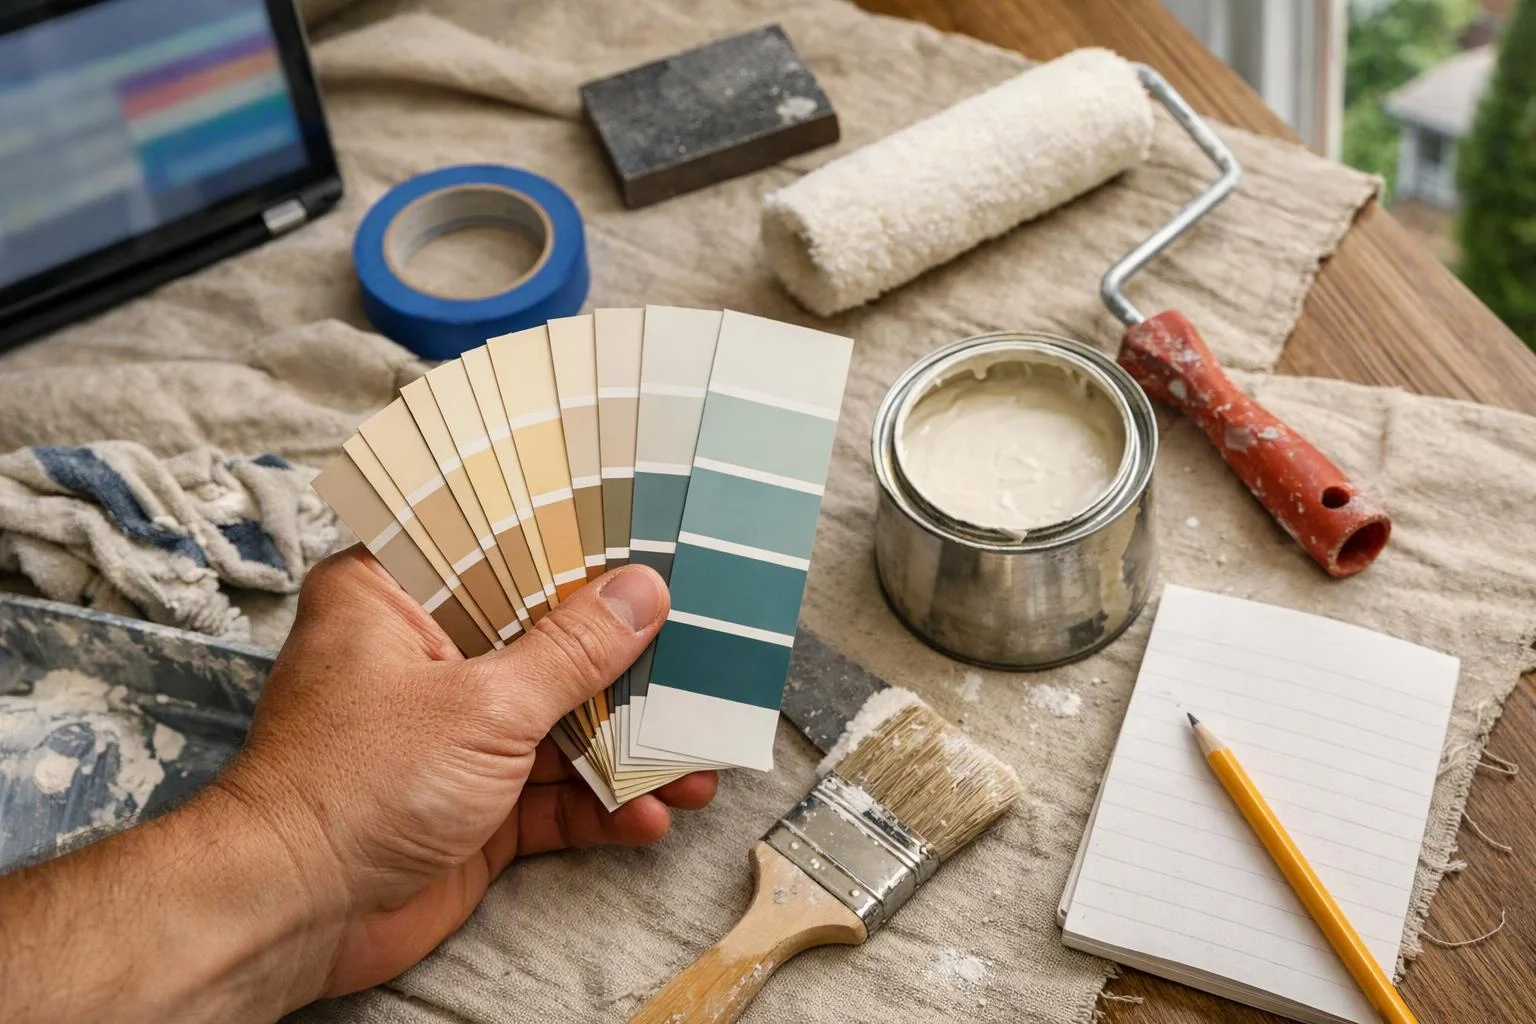
How We Review the Room and Confirm the Scope
Our room review covers walls, ceilings, trim, doors, and built-in features. We note the areas that need painting and confirm the selected paint finish.
We also look for damaged surfaces, old coatings, and access concerns. This review helps us set a clear work scope before the crew begins.
For a broader view of indoor painting, our Interior House Painting service includes planning, preparation, application, and cleanup.
What Should You Do Before the Painting Crew Arrives?
Homeowners can clear work areas, protect fragile items, and make access easier before interior painting begins.
A prepared room gives our crew safer, clearer access to the surfaces. Use this checklist before the scheduled work begins.
How Does Interior House Painting Move From Preparation to Finish?
Interior house painting follows an ordered process that protects the room, prepares each surface, applies the selected coating, and checks the finished work.
Our process may change when repairs, ceiling texture repair, or wallpaper removal needs extra attention.
Step 1: Review the Rooms and Painting Plan
The room plan sets the work scope, color selection, and surface inspection for the project.
We confirm which walls, ceilings, trim, doors, and built-in features will receive paint. We also discuss the desired finish and identify repairs that belong in the plan.
Step 2: Protect Floors, Furniture, and Fixed Features
Room protection keeps floors, furniture, and fixed features safe during painting.
Our crew uses drop cloths, masking, and furniture covers as needed. We also manage access so people and pets stay clear of active work areas.
Step 3: Prepare Walls, Ceilings, and Trim
Surface preparation removes dirt and addresses defects before paint application.
We clean, sand, caulk, and patch surfaces as needed. These steps help reduce visible flaws and support even paint coverage.
Step 4: Complete Texture Repairs and Wallpaper Removal
Ceiling texture repair and wallpaper removal add preparation work when damaged or covered surfaces need restoration.
We remove wallpaper and address backing or wallpaper adhesive. We may use skim coating and surface blending to create a smoother base, then check the texture match before painting.
Step 5: Prime and Apply the Finish Coats
Primer helps prepare certain surfaces for consistent paint coverage and adhesion.
We use brush work for detailed areas and roller application for broad surfaces. Our crew focuses on clean cut lines, even coverage, and the selected paint sheen.
Step 6: Clean the Room and Complete the Walkthrough
Paint cleanup removes coverings and leaves the work area ready for review.
We check the finish, complete touch-ups, and inspect edges and repaired areas. The customer walkthrough gives us a chance to review the completed work together.
What Does the Painting Preparation Plan Include?
The painting preparation plan organizes room protection, repairs, coating work, cleanup, and the final quality check.
Each project receives preparation based on its surfaces and finish requirements. The table shows the main parts of that plan.
| Work area | What we review |
|---|---|
| Room protection | Floors, furniture, fixed features, masking, and access control. |
| Surface preparation | Cleaning, sanding, caulking, patching, and visible defects. |
| Repairs | Wall cracks, nail holes, ceiling texture, stains, and uneven areas. |
| Primer | Areas where primer supports coverage, adhesion, or a consistent base. |
| Paint application | Brush work, roller work, cut lines, coverage, and paint sheen. |
| Cleanup | Removal of coverings, paint cleanup, and room readiness. |
| Quality check | Paint coverage, edges, touch-ups, and the customer walkthrough. |
Which Surface Problems Can Change the Painting Process?
Surface damage, old wallpaper, stains, and uneven texture can add preparation steps before paint application.
Peeling paint may need careful removal and additional patching. Water stains, wall cracks, and nail holes also affect the preparation plan.
Ceiling texture and wallpaper adhesive can change the surface finish. We inspect these conditions and choose the preparation work needed for a stable, even result.
When Does Ceiling Texture Need Repair?
Ceiling texture needs repair when cracks, patches, or damaged areas would remain visible after ceiling painting.
We assess the existing texture and work toward a close texture match. The repaired area must blend with the surrounding ceiling before we apply ceiling paint.
How Does Wallpaper Removal Affect Wall Preparation?
Wallpaper removal affects wall preparation because backing and adhesive can remain after the paper is gone.
We remove the remaining material, smooth the wall, and address uneven areas. Primer then helps prepare the wall for the selected paint finish.
How Do We Confirm the Finished Interior Paintwork?
Thomas J. Painting confirms the finish by checking coverage, edges, repaired areas, trim lines, and room cleanup with the customer.
Our team reviews the painted surfaces under normal room conditions. We complete touch-ups when the inspection shows areas that need additional attention.
The final walkthrough also confirms that coverings are removed and the room is ready for use. We discuss any remaining questions before the project is complete.
How Are Interior Painting Costs Determined?
Interior painting costs depend on the rooms, surface condition, preparation work, materials, finish requirements, and access; Thomas J. Painting offers Free Consultations to review the project and prepare an exact quote.
Room count and surface area affect the amount of paint application. Repairs, wallpaper removal, and ceiling texture repair add preparation work when those conditions are present.
Paint type, finish level, and project access also shape the work plan. We review these details during the consultation so the quote reflects the actual project scope.
What Should You Ask Before Interior Painting Starts?
Before interior painting starts, ask how the project scope, surface repairs, products, sheen, access, and cleanup will be handled.
Confirm which rooms and surfaces are included in the work scope. Ask how peeling paint, cracks, stains, ceiling texture, or wallpaper adhesive will be addressed.
Discuss the paint products and finish sheen before color selection is finalized. You should also confirm room access, furniture preparation, and cleanup expectations.
Questions About the Interior Painting Process
Do walls need to be empty before interior painting?
Walls don't need to be completely empty, but wall decor should be removed and furniture should be moved away when possible. Thomas J. Painting protects remaining items and manages access around the work area.
Should interior walls be primed before painting?
Interior walls should be primed when the surface needs better coverage, adhesion, or a consistent base. We decide where primer fits after reviewing the wall condition and selected paint finish.
Can ceiling texture be repaired during an interior painting project?
Yes, ceiling texture can be repaired during an interior painting project when cracks, patches, or damaged areas need attention. We blend the repair with the surrounding texture before applying ceiling paint.
Can wallpaper be removed and the walls painted in the same project?
Yes, wallpaper can be removed and the walls can be painted in the same project when the walls receive proper smoothing and priming. We address wallpaper backing and adhesive before applying the paint finish.
What should be checked during the final painting walkthrough?
The final painting walkthrough should check paint coverage, edges, trim lines, repaired areas, touch-ups, and room cleanup. We review these details with the customer before closing the project.
Interior painting is easier to manage when the plan covers preparation, protection, application, and inspection. Contact Thomas J. Painting to discuss your rooms and request a project quote.
Get a Free Estimate