Why Exterior Paint Bubbles and What to Check Before Repainting
Exterior paint bubbles and blisters when moisture, heat, or weak adhesion pushes the coating away from the surface. At PainterIssaquahwa.com, we check the siding, paint layers, moisture sources, and surface preparation before recommending repairs or repainting.
Get a Free Estimate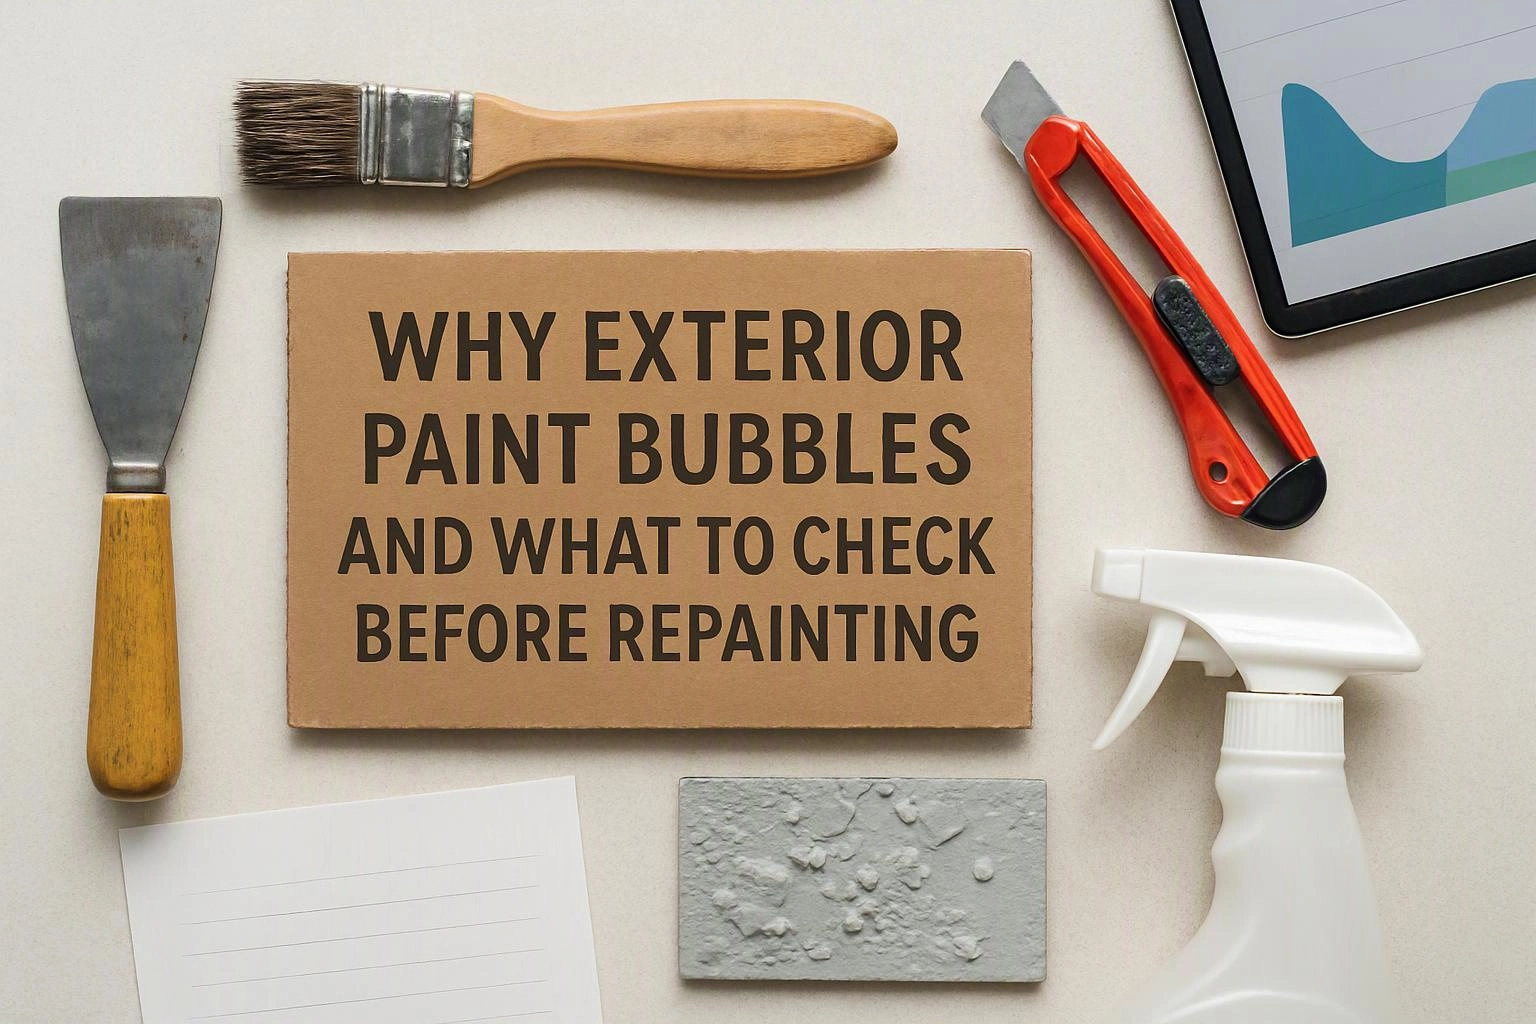
Why Does Exterior Paint Bubble or Blister?
Exterior paint bubbles or blisters when moisture, heat, or poor adhesion separates the coating from the siding or substrate.
Trapped moisture can push through the paint film as the surface warms. Water intrusion may come from damaged caulking, open joints, failed flashing, or siding that absorbs water.
Heat exposure can also soften paint layers and create raised areas. Surface contamination, uncured paint, and weak surface adhesion can cause the same exterior coating failure.
Our team connects the bubbling pattern to the siding surface before planning Exterior House Painting. The pattern can show whether moisture, sunlight, or preparation caused the problem.
What Warning Signs Should You Look For?
Exterior paint problems need closer inspection when bubbling appears with peeling, cracks, stains, soft siding, or repeated failure.
Walk around the home and look from the ground. Do not disturb damaged areas until you understand whether water or substrate damage is involved.
These signs often appear together. A bubbling patch beside soft siding deserves more attention than a small surface defect on sound material.
What Causes Paint Blisters on Siding?
Paint blisters on siding can result from moisture intrusion, condensation, direct sunlight, surface contamination, or incompatible coatings.
Wood siding can swell when it absorbs water, then shrink as it dries. That movement can break paint adhesion and expose wood rot beneath the coating.
Fiber cement siding may blister when moisture reaches unsealed edges or joints. Vinyl siding can show bubbling when heat builds behind the coating or when an incompatible coating loses adhesion.
Metal siding transfers heat quickly in direct sunlight. Heat blistering can appear when the surface gets hot, especially when paint was applied over contamination or uncured layers.
Condensation can create moisture on shaded or poorly ventilated surfaces. Rain, humidity, and hidden water paths can also keep the siding damp after the surface looks dry.
What Should You Check Before Repainting?
Before repainting, we check the moisture source, substrate condition, coating adhesion, surface preparation, and areas that can let water behind the paint.
A repaint can fail again when the cause stays hidden. Our team follows the damage path instead of treating only the visible bubble.
We also review the existing paint layers for compatibility. The right repair depends on whether the issue is moisture blistering, heat blistering, adhesion failure, or substrate damage.
Can You Repaint Over Blistered Exterior Paint?
No, repainting over blistered paint usually hides the failure without fixing the cause, so the damaged coating and substrate need evaluation first.
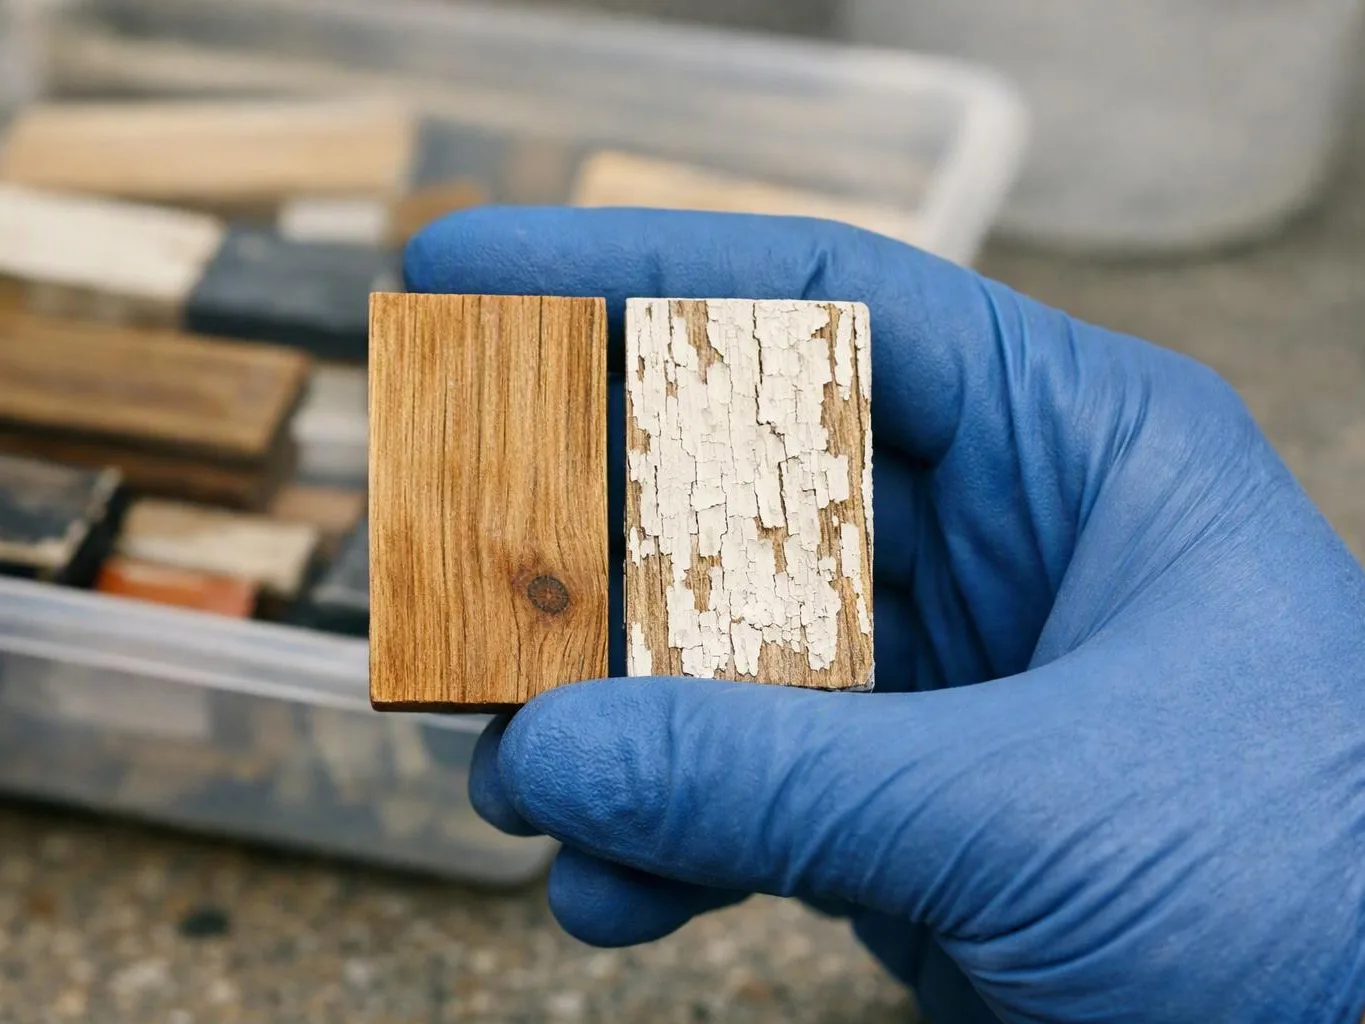
Loose paint must be removed before new coating can bond. Our crew may scrape and sand affected areas, but the exact approach depends on the paint layers and siding condition.
Surface repair may be needed when the substrate is cracked, soft, swollen, or damaged by water. We then select a compatible primer and apply a finish coat after the surface is clean and sound.
Painting over failed material can trap moisture and create another round of bubbling. The goal is to correct the cause and restore reliable paint adhesion.
How We Prepare Bubbling Exterior Paint for Repainting
Exterior house painting starts with siding inspection and a clear plan for the failed coating.
We inspect the bubbling pattern, nearby joints, and exposed substrate. Our team also checks whether moisture can enter behind the paint.
Paint removal focuses on loose, peeling, and poorly bonded material. We scrape and sand edges so the repaired area transitions smoothly into sound paint.
Surface cleaning removes dirt, chalk, and contamination that could weaken the new coating. We repair damaged siding and allow surfaces to reach suitable conditions before priming.
Primer helps seal repaired areas and supports bonding between the siding and finish coat. We choose the coating system based on the substrate, existing paint, and weather conditions.
Our process is designed to prevent a cosmetic recoat from covering a deeper paint failure. You can request an assessment through our contact page.
What You Can Do Yourself and When to Call Us
You can perform safe surface checks from the ground and record where bubbling appears. Ladder work, hidden moisture investigation, and damaged siding repair can create safety risks.
Use the comparison below to decide where a basic inspection ends and our exterior house painting process begins.
| Factor | What you can do yourself | What we do |
|---|---|---|
| Paint inspection | Look for raised, peeling, cracked, or stained areas from a safe position. | Trace the failure pattern across the paint and siding. |
| Ladder safety | Avoid climbing when the ground, height, or surface feels unsafe. | Our crew handles elevated inspection and preparation work. |
| Moisture investigation | Note stains, damp areas, open caulking, and recurring bubbling. | We check likely moisture paths, flashing, joints, and substrate condition. |
| Paint preparation | Keep notes and photos for the inspection. | We scrape, sand, clean, repair, prime, and recoat as the surface requires. |
If climbing feels unsafe, call us and our crew can handle the ladder work. Do not open siding or disturb suspected structural damage without the right assessment.
How Can Bubbling Paint Problems Be Prevented?
Surface preparation is the main starting point for preventing bubbling paint.
Moisture control also matters. We look for drainage problems, open caulking, failed flashing, and areas where water can remain against the siding.
Primer selection should match the substrate and the existing coating. Paint compatibility matters because a new layer may not bond well to an unsuitable or unstable layer below.
Good caulking seals joints while proper drainage moves water away from the wall. Ventilation can also reduce condensation on surfaces that stay cool or damp.
Routine inspection helps you spot small failures before they spread. Watch for new raised paint, peeling edges, dark stains, and bubbling that returns after repainting.
Questions About Bubbling Exterior Paint
Does humidity cause exterior paint to bubble?
Yes, humidity can contribute to exterior paint bubbling when moisture stays in the siding or paint layers. Condensation and poor drying can weaken paint adhesion and leave the surface vulnerable to blistering.
Why does paint bubble only on one side of a house?
Paint can bubble on one side when that wall receives stronger sunlight, more rain, or different airflow. A single wall can also have unique siding joints, flashing, moisture paths, or surface preparation.
Can bubbling paint indicate damaged siding?
Yes, bubbling paint can indicate damaged siding when it appears with soft areas, swelling, dark stains, or recurring peeling. Our team checks the substrate before choosing a repair or repainting plan.
How can you tell whether bubbling paint comes from moisture?
Moisture-related bubbling often appears near joints, trim, flashing, stains, soft siding, or areas that stay damp. Recurring bubbling after repainting also points to an unresolved moisture source.
Will exterior paint bubbles keep coming back after repainting?
Exterior paint bubbles can return when moisture, heat, poor adhesion, or substrate damage remains unresolved. Repainting lasts longer when the failed coating is removed and the surface is repaired, cleaned, primed, and properly recoated.